Undoubtedly, if you run a static HTML website, you are your own master (hmm.. or in case if you are a programmer at least). Plus, you shouldn’t worry about constant version updates, you personally conduct your website SEO, code structure, and design. Sure, there are some drawbacks: if you are not a web expert, you have to ask a programmer to add or edit some content; it’s pretty difficult to get some extra options – you have to write your own code, test it and conduct other manipulations; and it’s so easy to damage your site script…Too much, isn’t it? There are a lot of reasons to migrate to a more powerful CMS.
Maybe, it’s better to make a desperate step forward and convert your existing website to CMS, something like WordPress? Just check out, WP allows you to manage every bit of the content without expert assistance, it’s possible to add both free and commercial plugins (whatever to your wish and demand), any time you may proceed with editing, publishing, etc. It looks like a nice alternative!
So, let’s move on. Now, you have decided that it would be nice to try WP as your web project basis, but you may ask how to save your current HTML site content. Here’s the solution – you may convert HTML to WordPress automatedly in a few mouse clicks. All you need to do is follow the tutorial below.
Convert HTML to WordPress Step-by-Step
1 Step. Back Your HTML Site up
Before you have started the site conversion, make a backup of your current website data. It will help you to exclude all the migration risks. You may use a hard drive, flash drive or any other possible way of data backup.
2 Step. Install a New WordPress Site
Create your new WordPress website and make all the necessary installation, for instance, select your new site design, activate all the necessary plugins, etc. In case you haven’t installed your new WordPress site yet, you may still try the migration. It’s possible to convert a part of your site content to a test WordPress web page. So, you’ll be able to see how your WP site will look like.
3 Step. Register aisite Account
Now, you are about to set your HTML to WordPress conversion. Go to aisite.com and register there your account, or you may log in via Facebook or Google+.
![DataLife Engine vs. WordPress: Game Changer [Tutorial]](https://aisite.ai/wp-content/uploads/2014/08/Selection_189.png)
4 Step. Specify the URL of Your HTML Site
![How to Convert HTML to WordPress: Must-Have Guide [+Video]](https://aisite.ai/wp-content/uploads/2013/10/Selection_252.png)
5 Step. Provide the details of your WordPress website
Choose WordPress as your target platform and enter its URL address. Then, provide your WordPress admin login and password in order to install the connection plugin automatically.

6 Step. Start Free Demo Migration
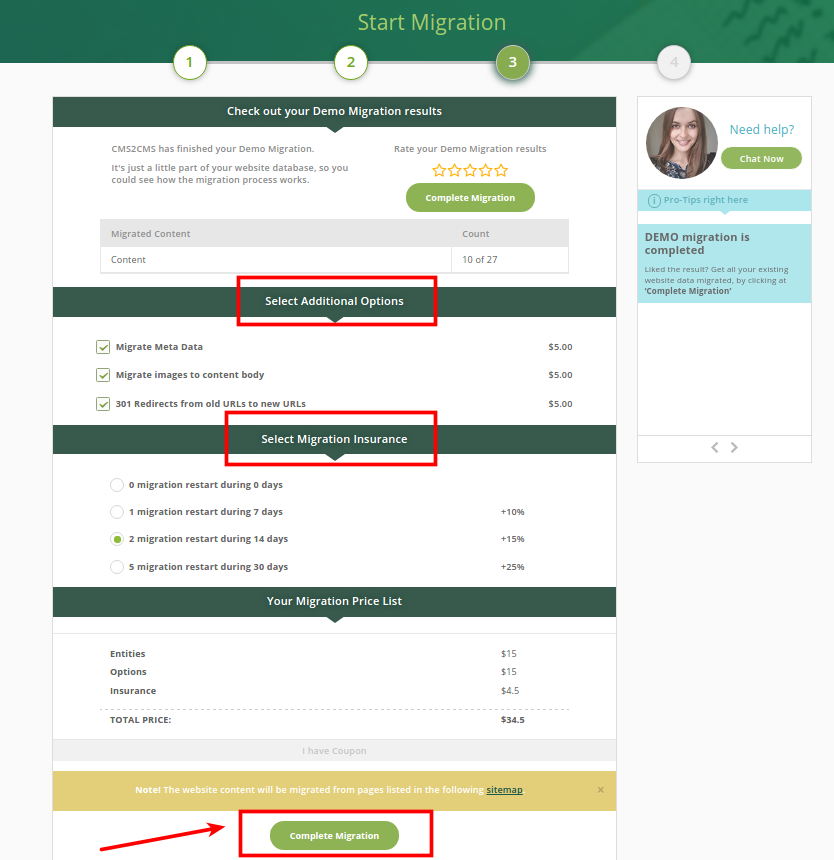
Here you’ll be able to select some additional options for HTML to WordPress conversion. Now, you may start the Free Demo Migration. It means that aisite will convert up to 10 pages of your HTML to WordPress in order to show you how the migration works.
![How to Convert HTML to WordPress: Must-Have Guide [+Video]](https://aisite.ai/wp-content/uploads/2013/10/Selection_254.png)
7 Step. Final Stage – Complete HTML-WordPress Conversion
Then, if you are happy with the demo migration, you may start the full conversion of your website content. When the transfer is over, you’ll get an email notification and it will be a sign that you may check out your new WordPress website.

8 Step. Get the Cheque
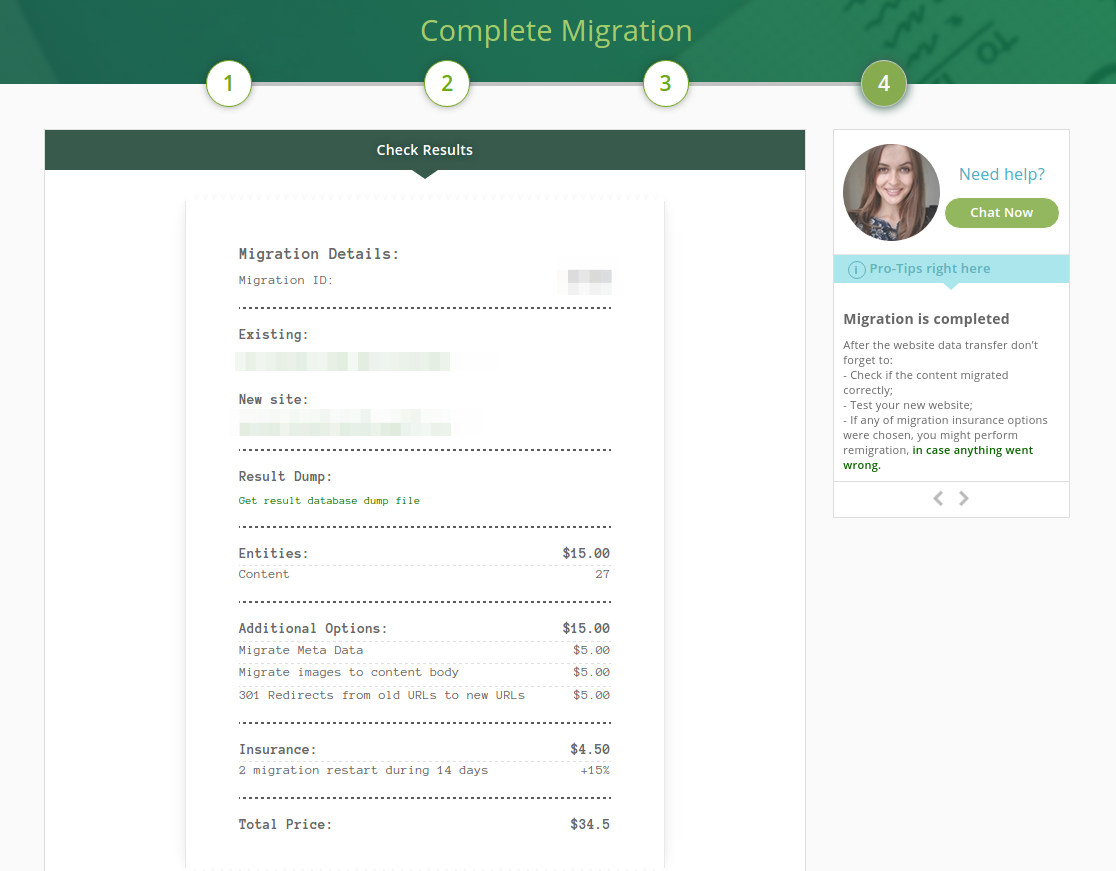
Check the migration price and enjoy the new life of your website!


