When you install WordPress CMS, you might get so anxious to start writing there and then, you’re not sure what to do before actually publishing your first post.
In this write up, we will walk the very first steps with you to get the feel of your new website and get it match your expectations as soon as possible. Are you ready? Let’s go!
Baby WordPress: First Steps
1. Create new secure user account.
This is going to be you (and you can add as many users as you want afterwards). This step is very important for two reasons:
- security
By logging in under default Admin into your WordPress dashboard, you betray 50% of access info to hackers. Finding a password will not be a big problem.
- author image
Blog posts published by Admin don’t look very personalised, so it is a good idea to create a distinguished username so that readers recognized this is you who wrote this, not the faceless Admin.
So, go to your WordPress dashboard > Users > Add New.

Choose a username and a very secure password (not your birthday or stuff that’s easy to guess). Ideally, the password should be long and random, a combination of letters, figures and punctuation signs.
When your new user account is created, make sure you make it an Administrator (otherwise, it will not have the right to change anything on your site).
Go to Users > All Users, tick the user and choose Administrator in the dropdown.

Voila, you can now login to your new account!
2. Configure SEO links structure.
Unless you want the links to your site look like this: yourwordpress.site.com/?p=123, you should enable SEO friendly permalinks. This way, the URLs will look neat and will be easy to read for users, like this: yourwordpress.site.com/category/post-title/.
Plus, you’ll be able to include keywords in the links, which is a good thing for SEO.
Go to Settings > Permalinks and choose among the 4 available options or create your own custom URL structure.

3. Change site title and description.
Your site is certainly not “Just another WordPress site” (which it says by default) so let that be clear by changing the title and tagline under Settings > General.

4. Install theme
To make your website look attractive, install the most suitable visual theme. You can find it right within your dashboard, under Appearance >Theme > Install theme. You can use keywords to select the right one.

In case you’d like something more exquisite and not so widely used, you can find lots of commercial WordPress themes available on the Internet.
5. Install the necessary plugins.
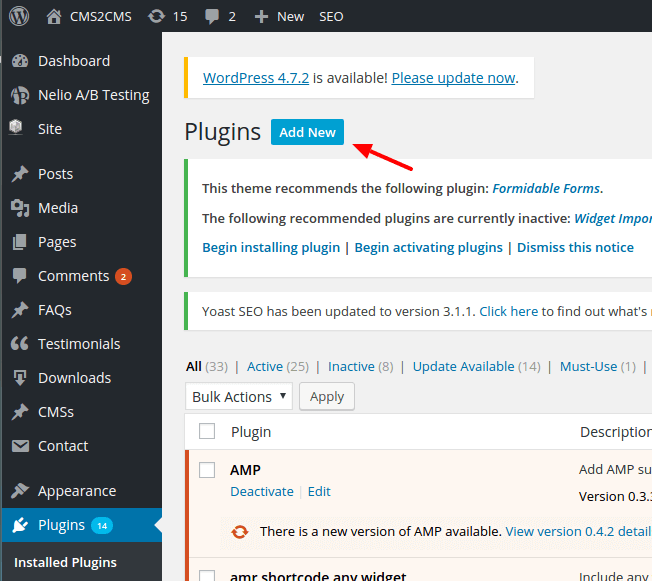
Of course, this can mean different things for different websites depending on the topic, audience, and type. However, the most common and hard to go without plugins are:
- backup
- security
- spam protection (in case you allow comments on your website)
- SEO
- XML Sitemap.
This list can vary according to your requirements.
Useful to read + watch: Life After Migration to WordPress: Useful Resources [+Video]
Congratulations! You’re now ready to make that post that has long been there in your head and is finally coming out to public. There is still a lot to do before you will be totally satisfied with the looks and feel of your site (if that’s possible at all:), but the first steps are completed successfully!